Many photographers have Flickr accounts. Inside each Flickr account you have a special ‘About’ page where you can display your biography, contact info, etc. The problem is that most Flickr ‘About’ pages are nothing more than a sea of text, like this:

But we can spice it up! Did you know you can put images, such as your logo, headshot, etc. in there, as well as hyperlinks?
Here’s how you do it.
First, you need an HTML editor. You can use this free online version right here: https://htmltidy.net/. Once you arrive at the page, simply erase everything in the box so that its blank and looks like this:
Then, go ahead and write your content in the box that you want for your ‘About’ page. For example, here’s mine:

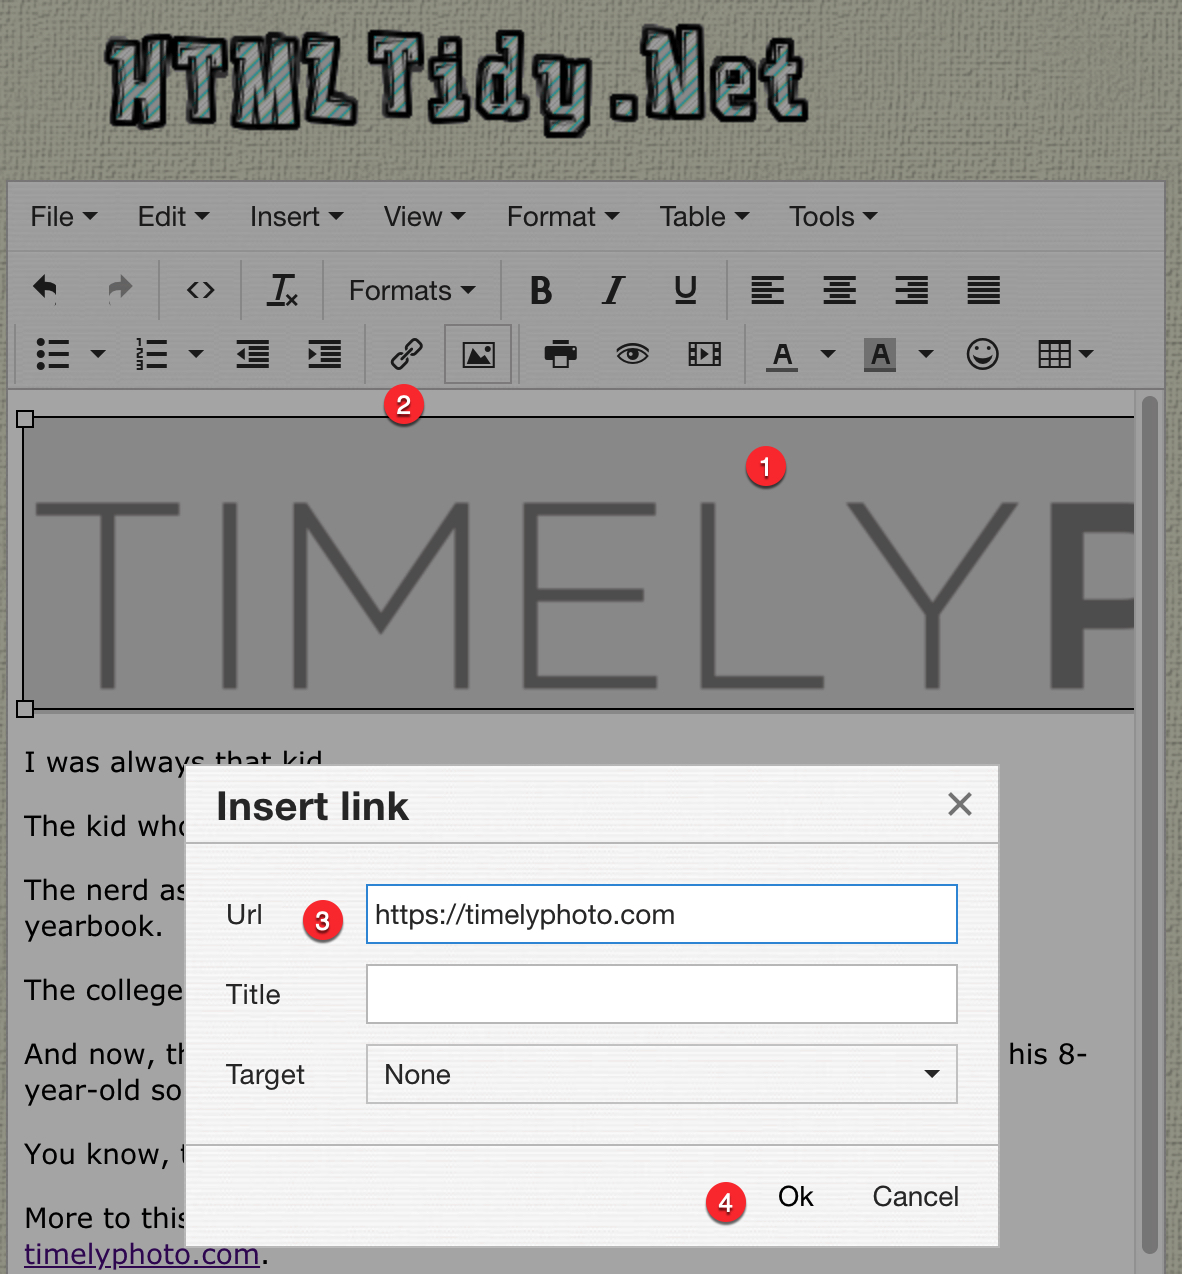
Then, you can start to add any hyperlinks to websites that you want to include in your bio. For example, I added one back to my photography blog at timelyphoto.com. To do this, you need to do the following:

Select the text that you want to make ‘clickable’.
Click on the hyperlink button.
Enter in the URL of the site you want them to be directed to.
Click OK.
Adding Images
Let’s say you also want to include your logo or perhaps a headshot. This is a bit tricker but still easy to do. To do this, you need to have the image hosted somewhere. It can pretty much be anywhere, such as on your own website, blog, etc. For example, my logo is located at this URL: https://static1.squarespace.com/static/5b800586506fbe8ecfe22871/t/5b80064a70a6adbc6a77cb0c/1536245862410/?format=1000w
It doesn’t matter so much where its hosted. What does matter is that the URL should have an ‘s’ in the https. Meaning, it can’t be hosted at a non-SSL site. So, you must have https and not http. Make sure you copy down the entire URL to the image. Once you’ve done that, you can then return to the HTML editor and use this URL info to place the image where you want it to appear by following these steps:

Make a blank line where you want the image to appear and click on that. That is where you will be inserting your image.
Click the Insert Image button.
Paste in the URL to your image. As I mentioned earlier, you need to have your image hosted somewhere at an https location and get the URL to that. This is the URL that you will need to enter into this box.
Click the OK button.
Now, it should look like this:

Lastly, as a final nice touch, you can make your image itself clickable to your website. To do this, click on the image and assign it a URL like this:
Click on the image that you had inserted earlier so that it’s selected.
Click on the hyperlink button.
Enter in the URL of where you want the image to link to.
Click OK.
Now, you need to copy ALL the code inside the window on the right side of the page:

Now, go back to your Flickr account’s ‘About’ page and paste the code you copied above directly into the textbox area (where you normally add your bio), like this:

Click ‘Save’ and you’re done!
To see this in action, you can visit my own Flickr ‘About’ page here: https://www.flickr.com/people/pal2tech/
Hope this helps!
— Chris Lee